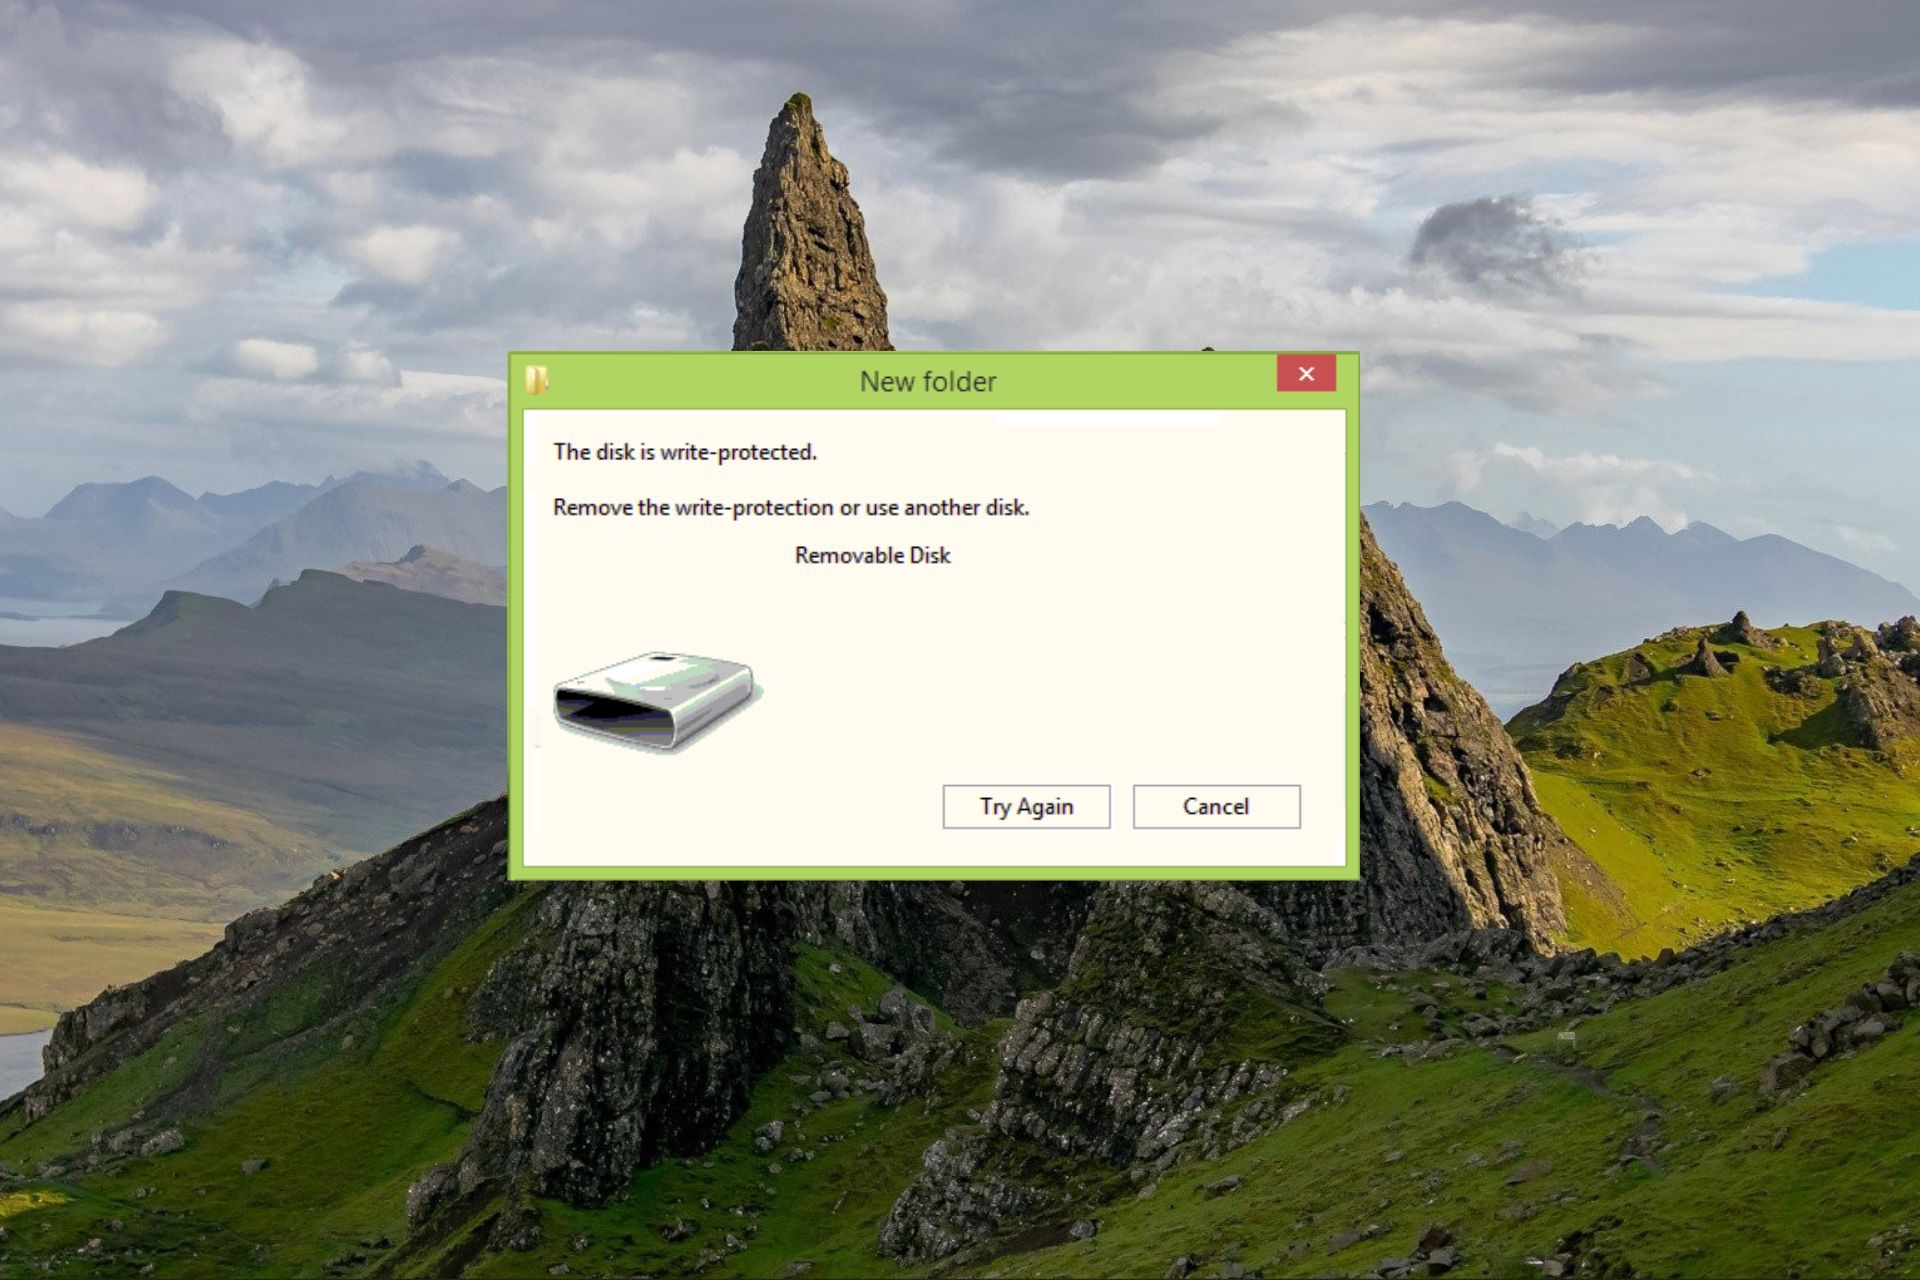
You may initially think that the pen drive is no longer usable, but surprisingly, it is possible to remove the write protection from your pen drive. Let’s find out how.
Why is my pen drive write-protected?
Generally, Pen drives or USBs are write-protected to prevent someone from copying or modifying the files. However, there can be other reasons as well that you should take into account:
Individual files have read-only attributes – A pen drive may become write-protected if a file is marked as read-only and cannot be deleted. BitLocker is enabled – If BitLocker is turned on, you won’t be able to make changes to files and locked pen drives. No storage space – Insufficient disk space on the USB or pen drive can also cause a write-protected error. Write protection switch is enabled – The physical write protection switch on the pen drive has been enabled accidentally. Virus or malware infection – A virus infection or malware attack on the pen drive can also make it write-protected.
So, if you’re struggling to access a write-protected pen drive, you should know that there are several methods to remove write protection from your pen drive or USB. This guide lists the most effective ones and explains the step-by-step procedure.
How do I remove write protection from the pen drive?
Before employing the software-related workaround listed below, make sure to perform the following:
Look for the physical write protection lock and move it to the off position in case your pen drive has one. Scan your pen drive for viruses and malware infections using Windows Defender or any third-party antivirus.
If these simple actions could not remove the write protection from your pen drive, move on to the workarounds listed below.
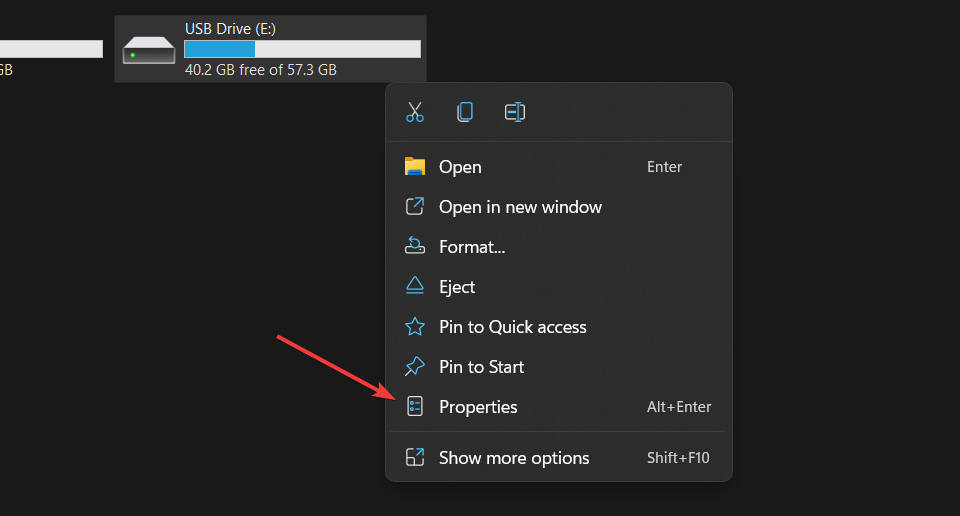
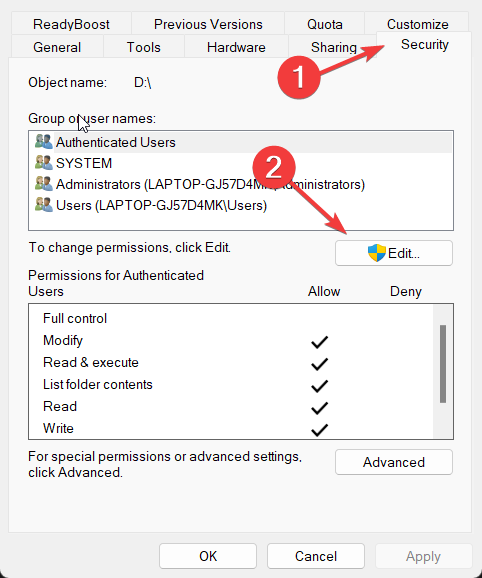
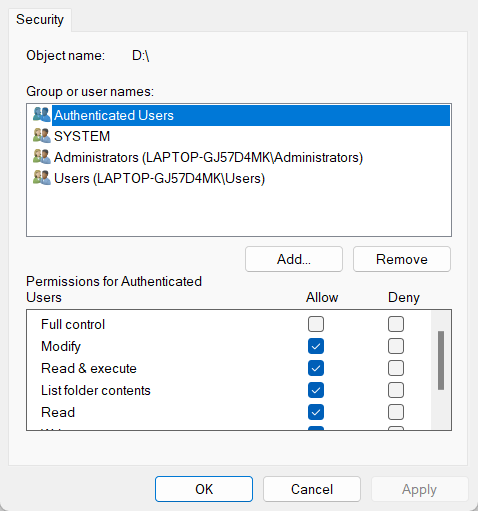
1. Change pen drive properties
Once you’ve changed the read-write properties of the pen drive, it will no longer be write-protected, and you should be able to save, delete, and modify files on the pen drive as needed.
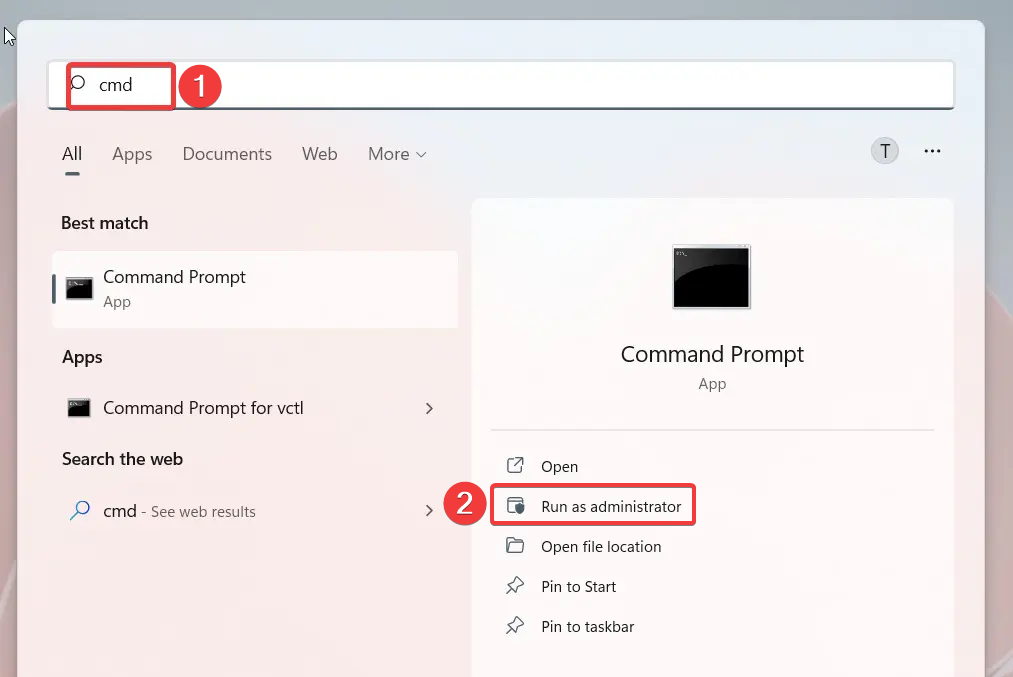
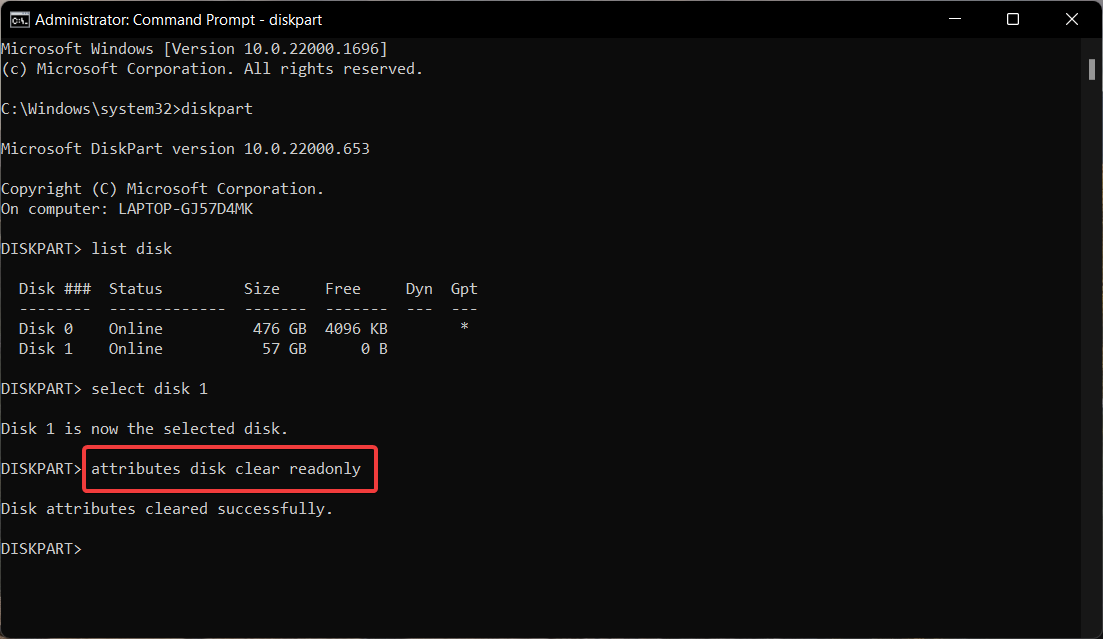
2. Remove read-only attributes using Command Prompt
When the disk attributes are cleared successfully, exit the command prompt window. The attribute command in Windows Command Prompt can remove read-only attributes from files or directories. SPONSORED
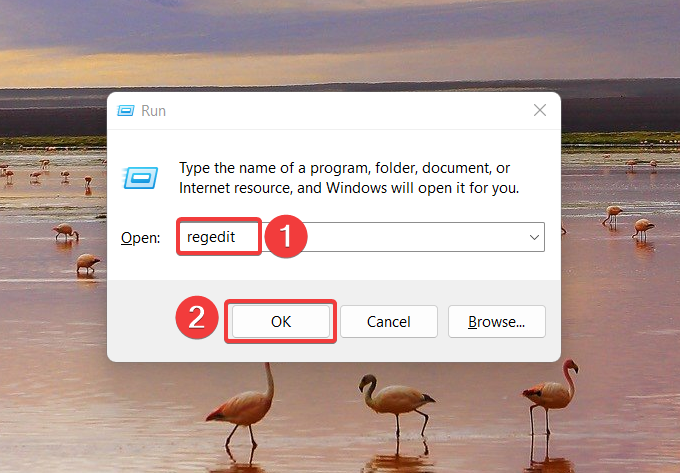
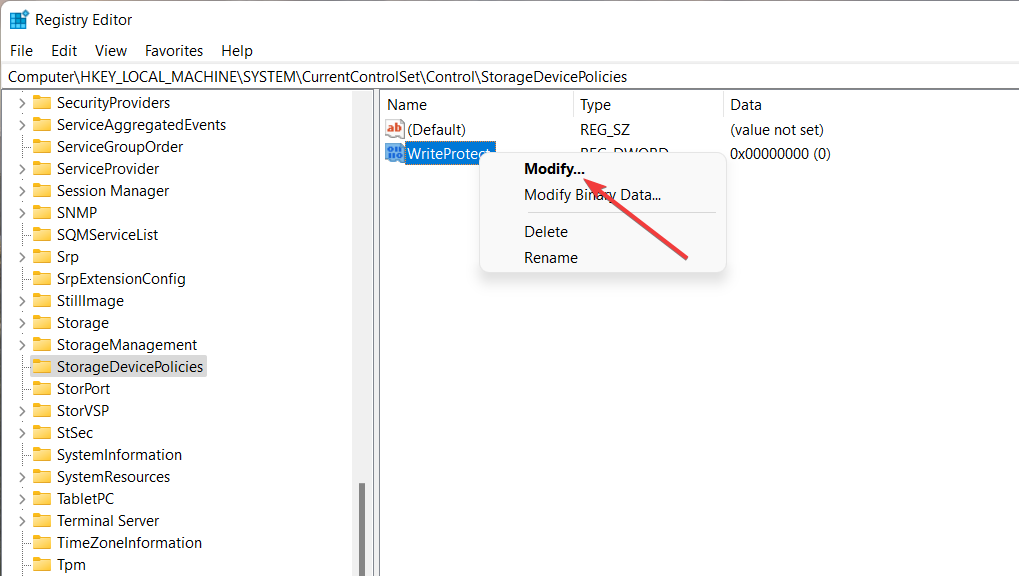
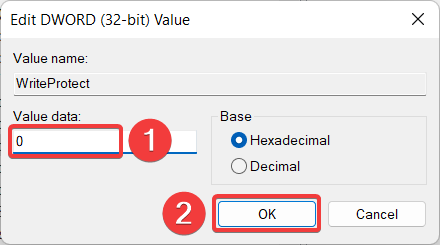
3. Modify the registry to disable write protection
Now reconnect your pen drive, and you will see that the write protection is eliminated. If you don’t see the StorageDevicePolicies folder in Registry, you can create one and then follow the steps above.
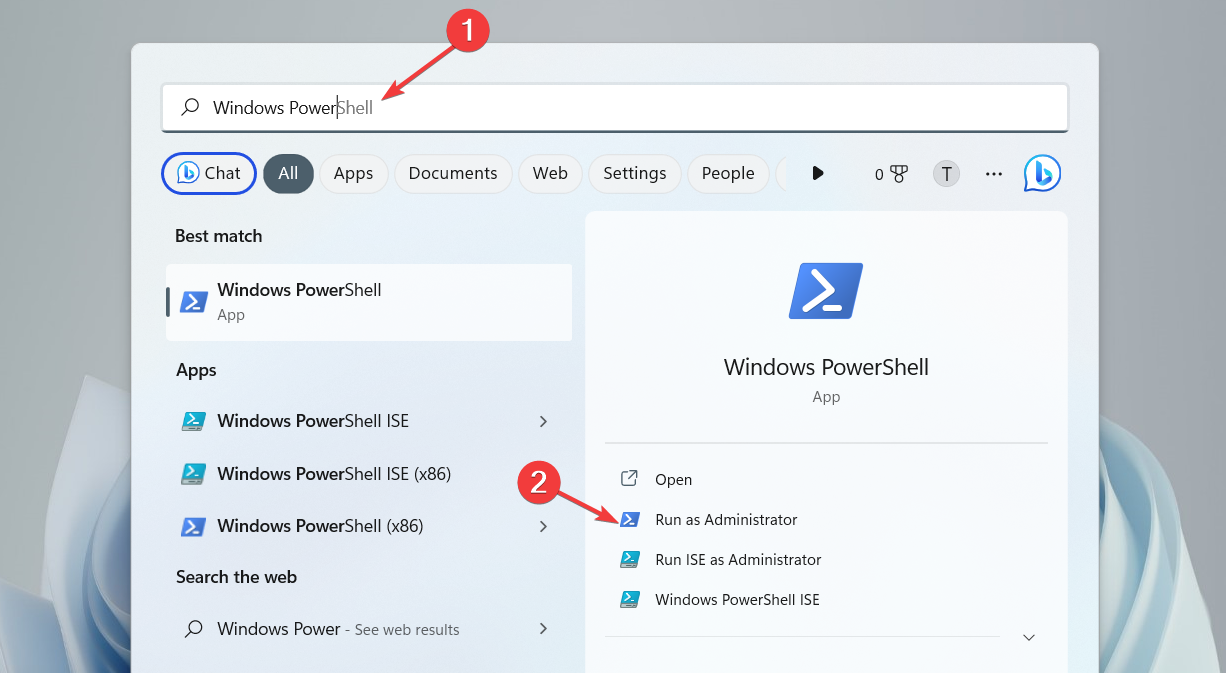
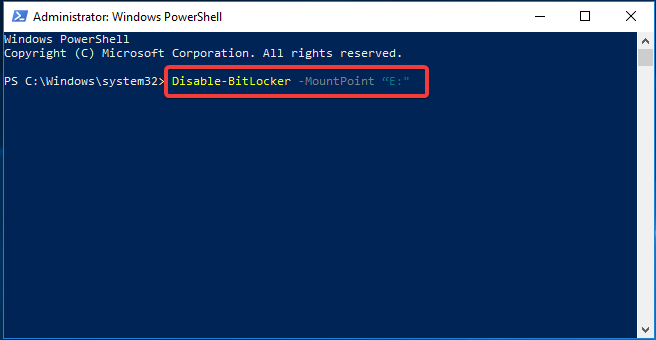
4. Disable BitLocker using Windows PowerShell
The decryption process can take several moments, depending on the contents of the pen drive. Once the process is complete, your pen drive will no longer be write-protected. So that’s how easy it is to remove write protection from a pen drive and perform the write operation as required. We also recommend reading another guide to repair a Kingston Flash Drive if it has become corrupt. Let us know in the comments if any of these methods were successful in removing the write-protected limitation from your pen drive.
SPONSORED
Name *
Email *
Commenting as . Not you?
Save information for future comments
Comment
Δ


![]()
